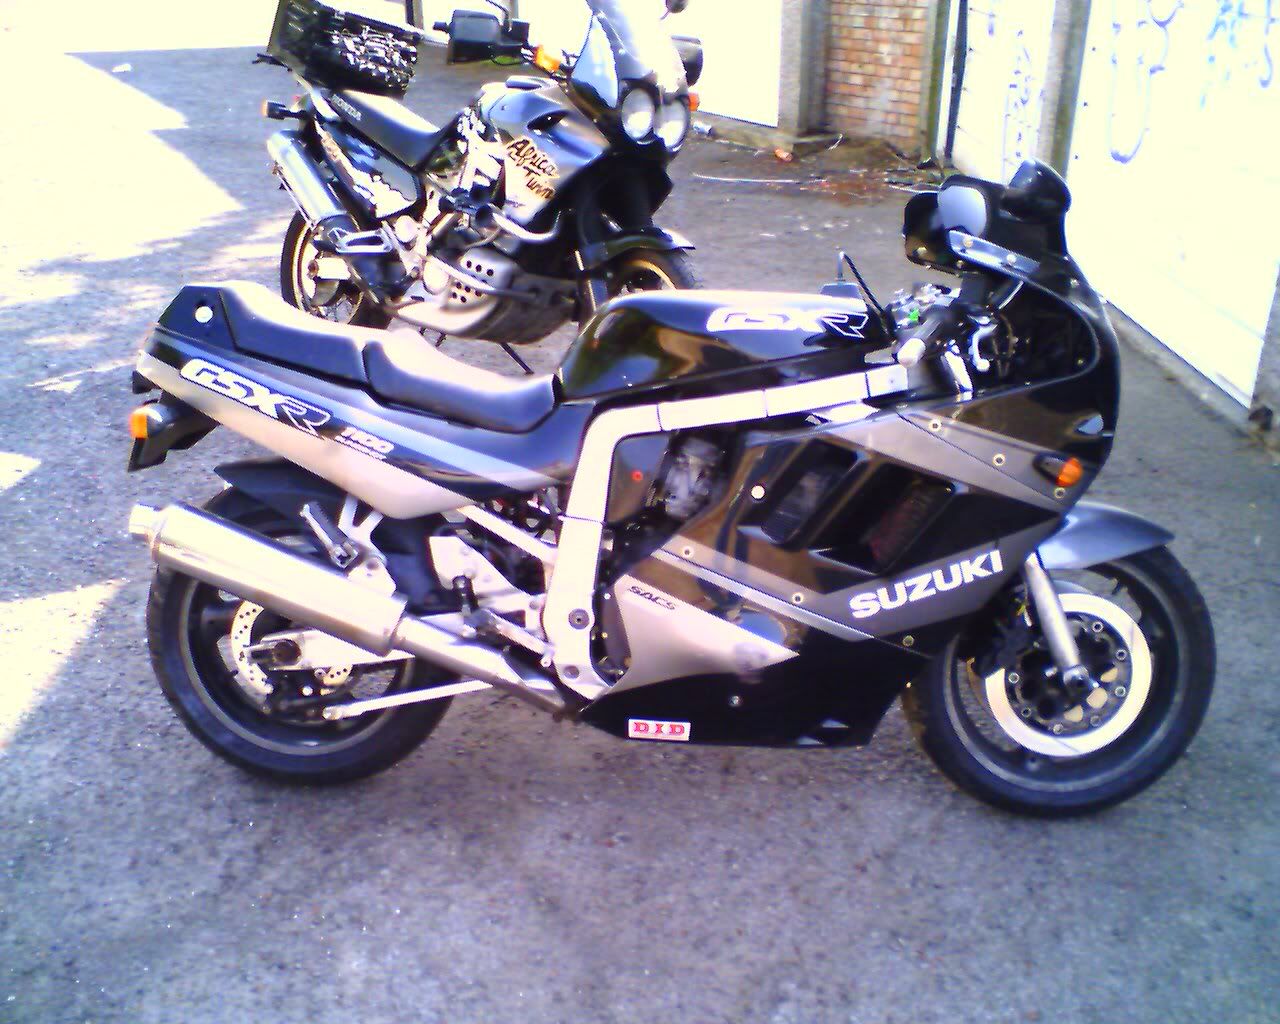
A few years ago a mate of mine was selling a GSXR1100K. It was tatty and corroded from a life of trawling salt covered motorways in winter. It had been down the road fairly gently a couple of times resulting in a fairly tatty looking bike but he'd never thrashed it and it had covered less than 50,000 km.
I fancied a streetfighter project and the Slingshot GSXR's were the look that I liked so I exchanged a ridiculously small amount of money for it, stuck it on a mates trailer and bought it home.
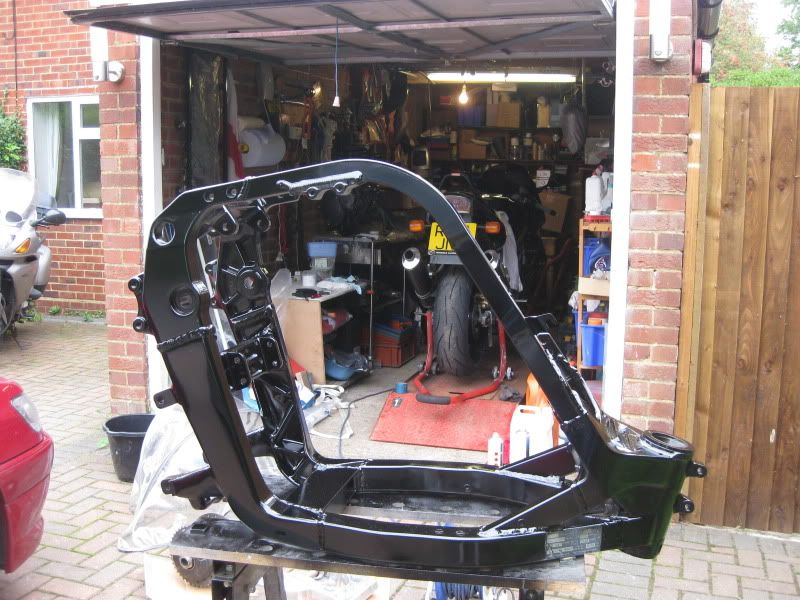
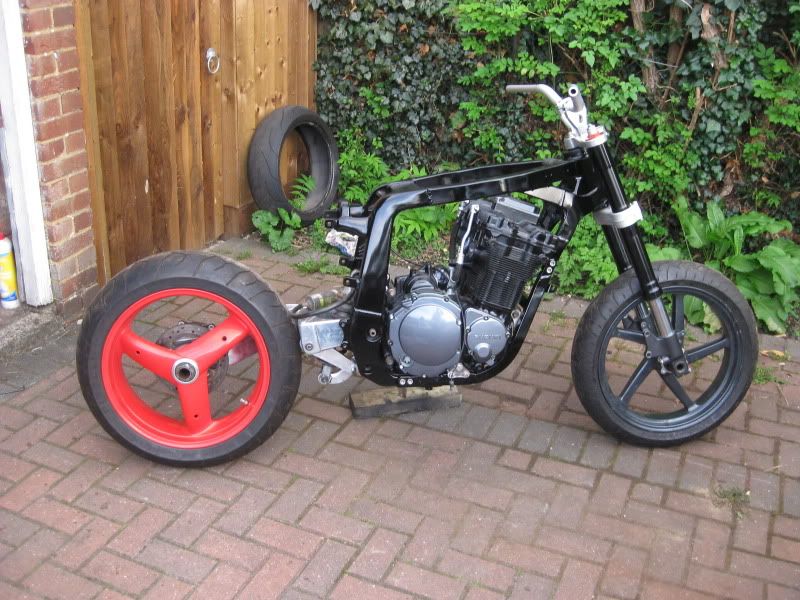
Now, the idea was that I do this to as tight a budget as possible while not compromising too much on the finished look and I do as much as possible myself. I had just moved and now had a garage so there was no stopping me. I stripped it down to an engine and frame revealing the full extent of the corrosion and sub-standard repairs.
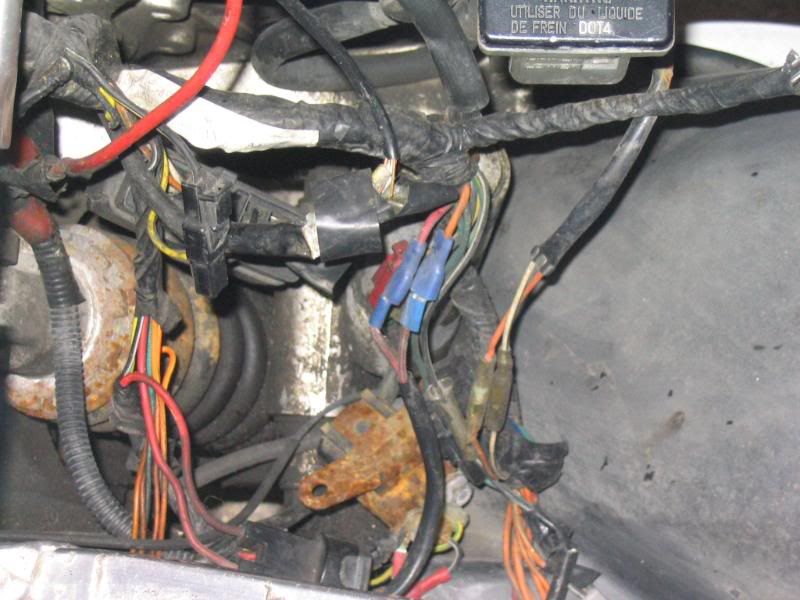
The wiring was crap, no it was worse than crap the crimped on connectors came off in my hand leaving lots of bits of weathered green wire. The loom will be binned. As some components will require moving (battery, CDi, etc) I will either make a new loom or butcher another one but hopefully with a better standard of butchery.
And that was it. For the next four years the garage was inhabited by bits of GSXR. The engine on a trolley and the frame on a workmate (black and decker not a colleague) while familly, house, work and other matters took up my time.
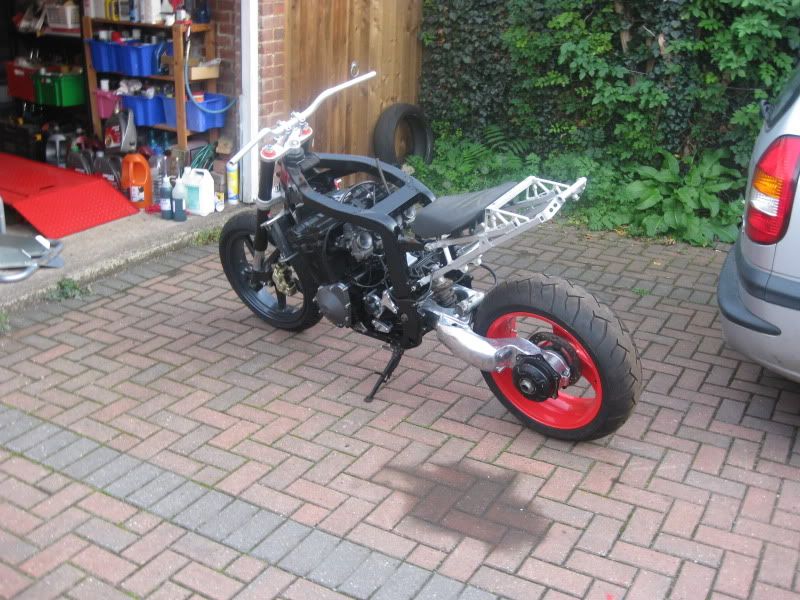
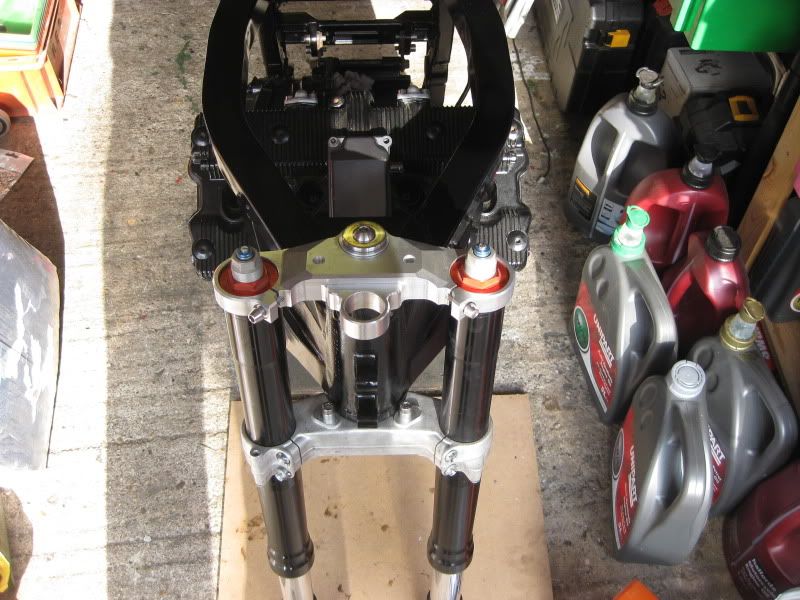
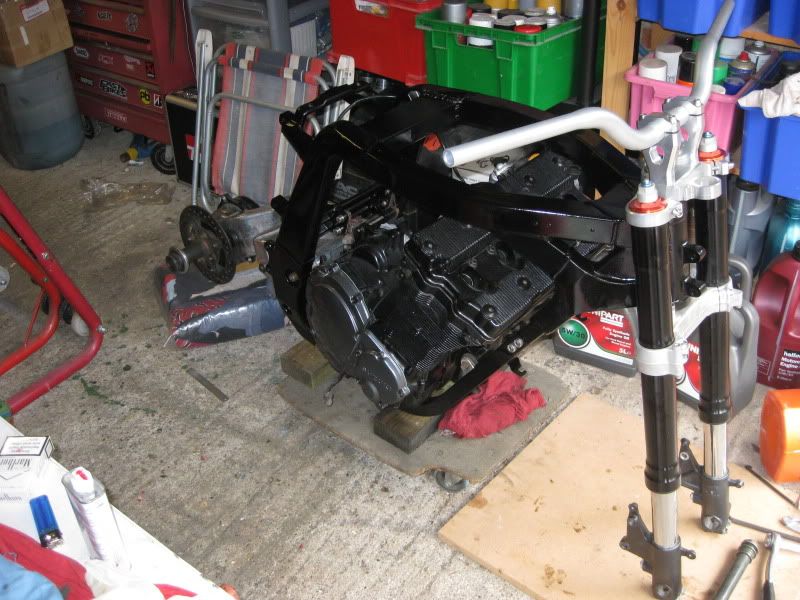
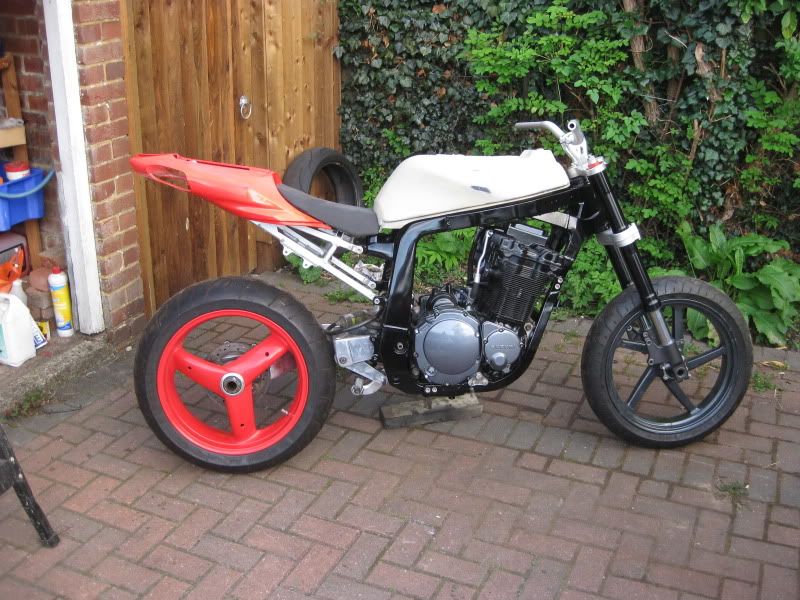
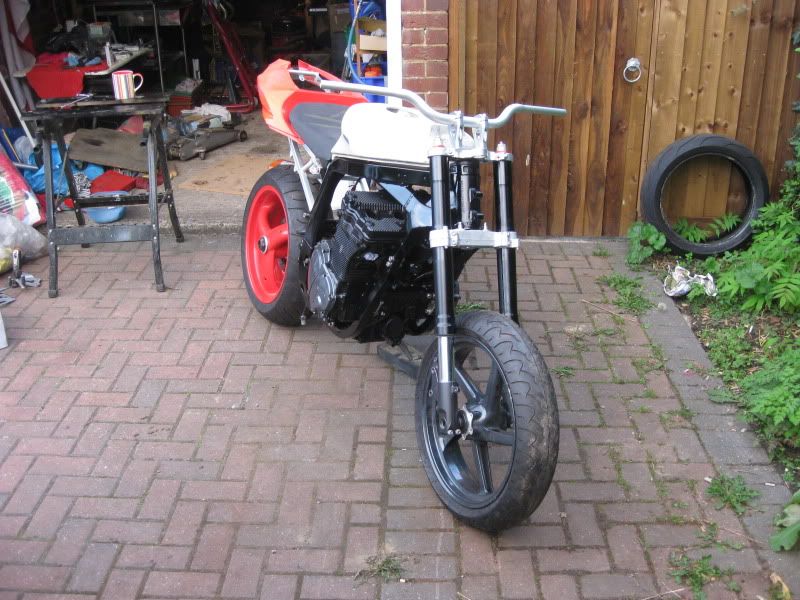
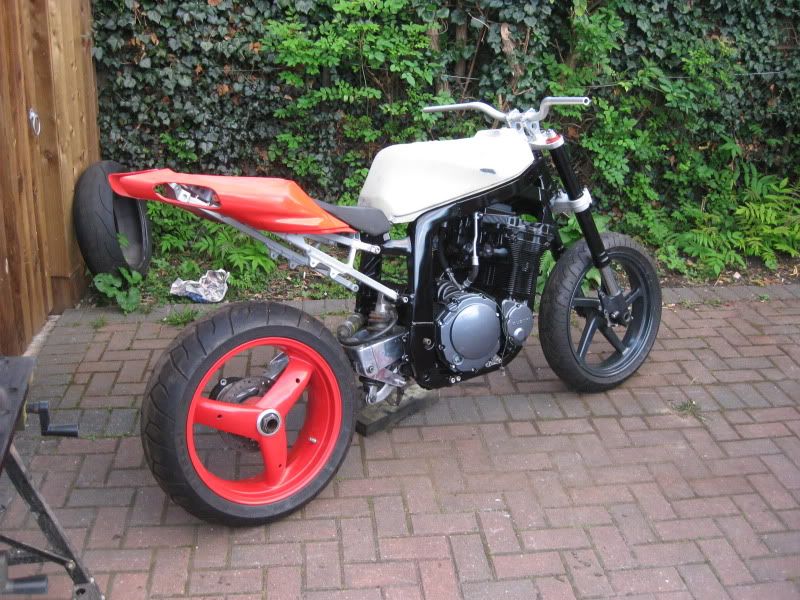
Four years later, having collected a load of parts I took the frame and the head to Sooty's Customs in Milton Keynes and had lugs put on for an Aprilia RSV '04 subframe, a new steering stem for the Aprilia Falco forks and the cylinder head repaired.
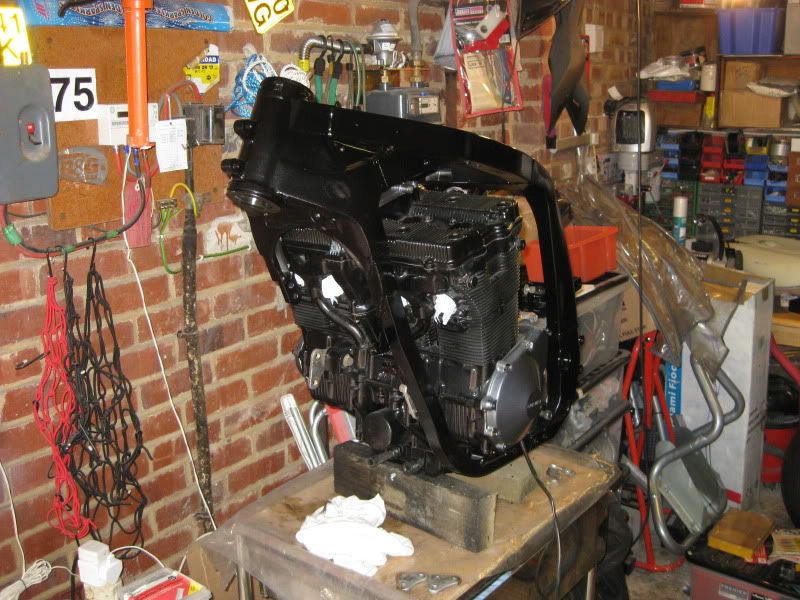
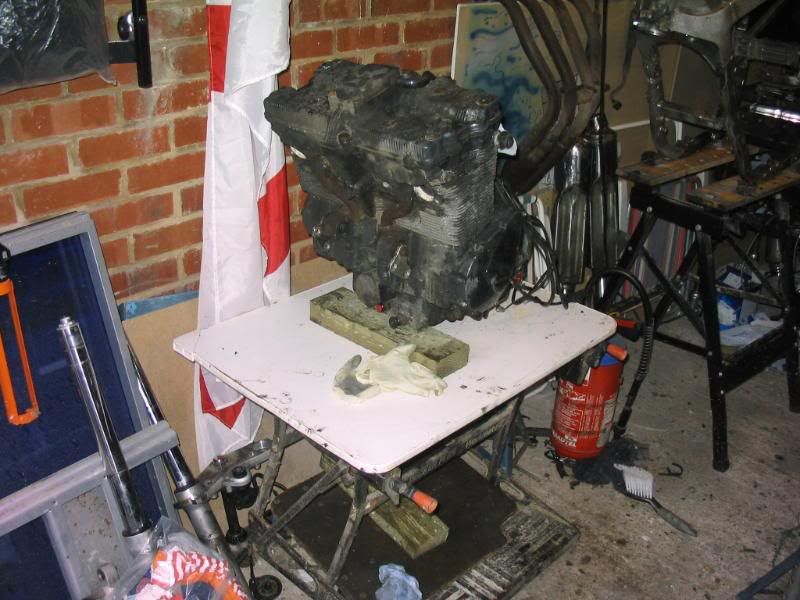
The weather and road salt had taken it's toll elsewhere with one of the exhaust stud holes just crumbling away as I tried to remove the bolt. I hadn't intended to do anything with the engine except tidy it up a bit but the head had to come off to have a new lug welded on.
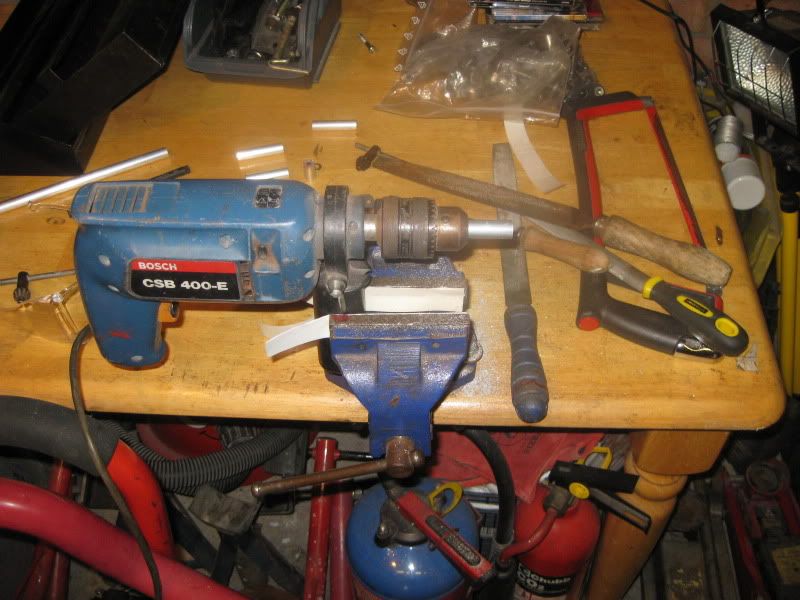
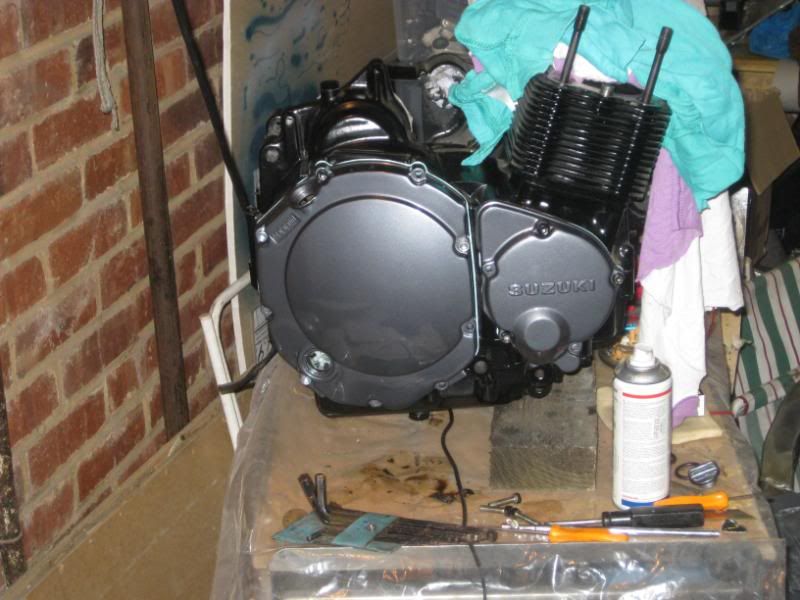
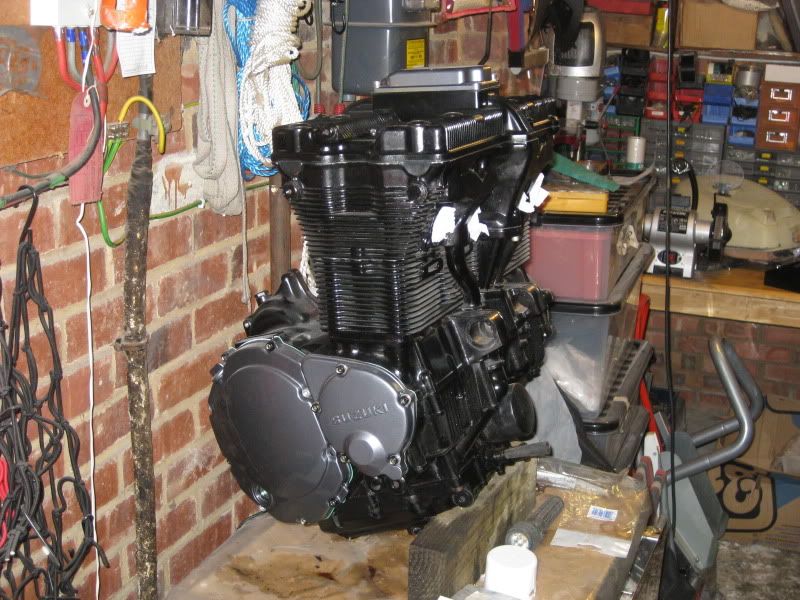
I cleaned up the rest of the engine and sprayed it with engine enamel and took the clutch out as this hadn't been working when I got the bike. I had another clutch from ebay and swapped a couple of plates over but on the hole it looked ok. Had to make a couple of tools for holding the clutch, very easy to do and avoids messing about.
I also removed the other covers from the engine and sanded out the multitude of scrathces and gave them a coat of paint. New head gasket and o'rings and the engine went back together.